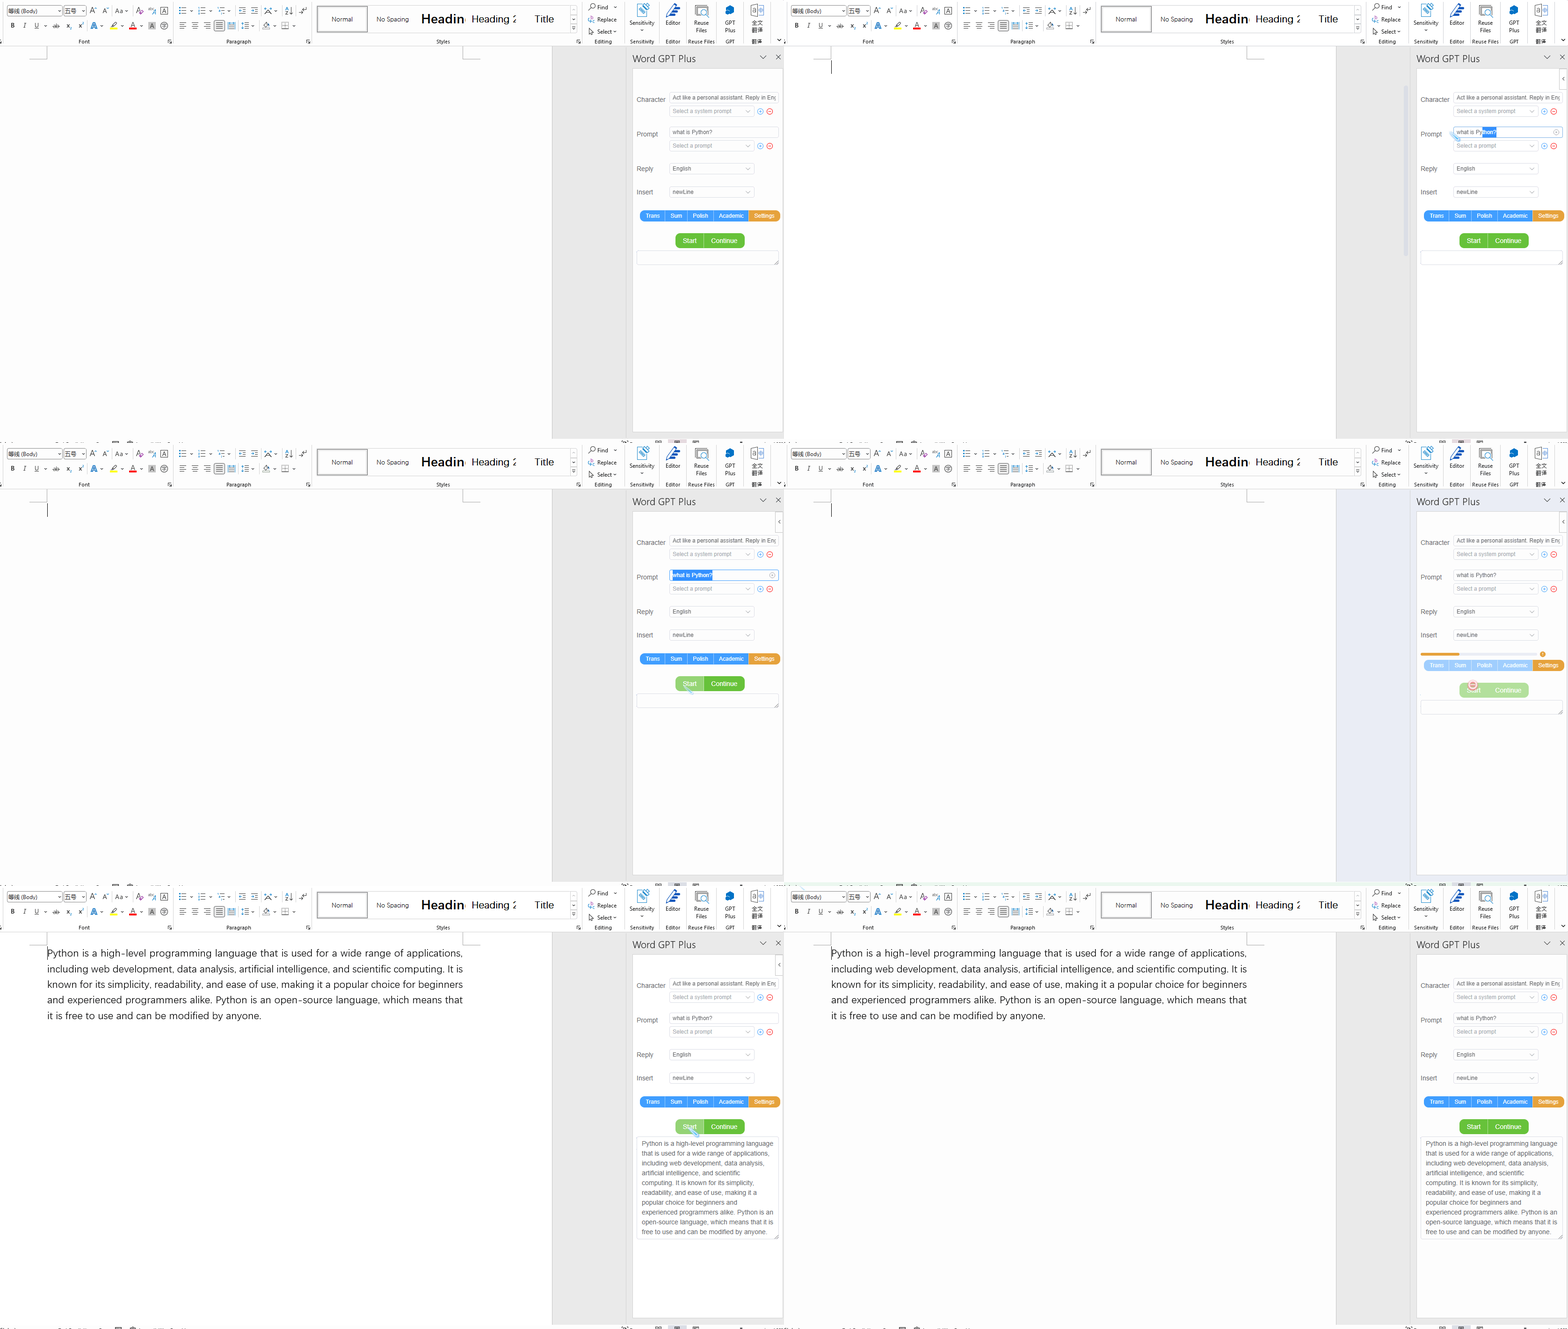
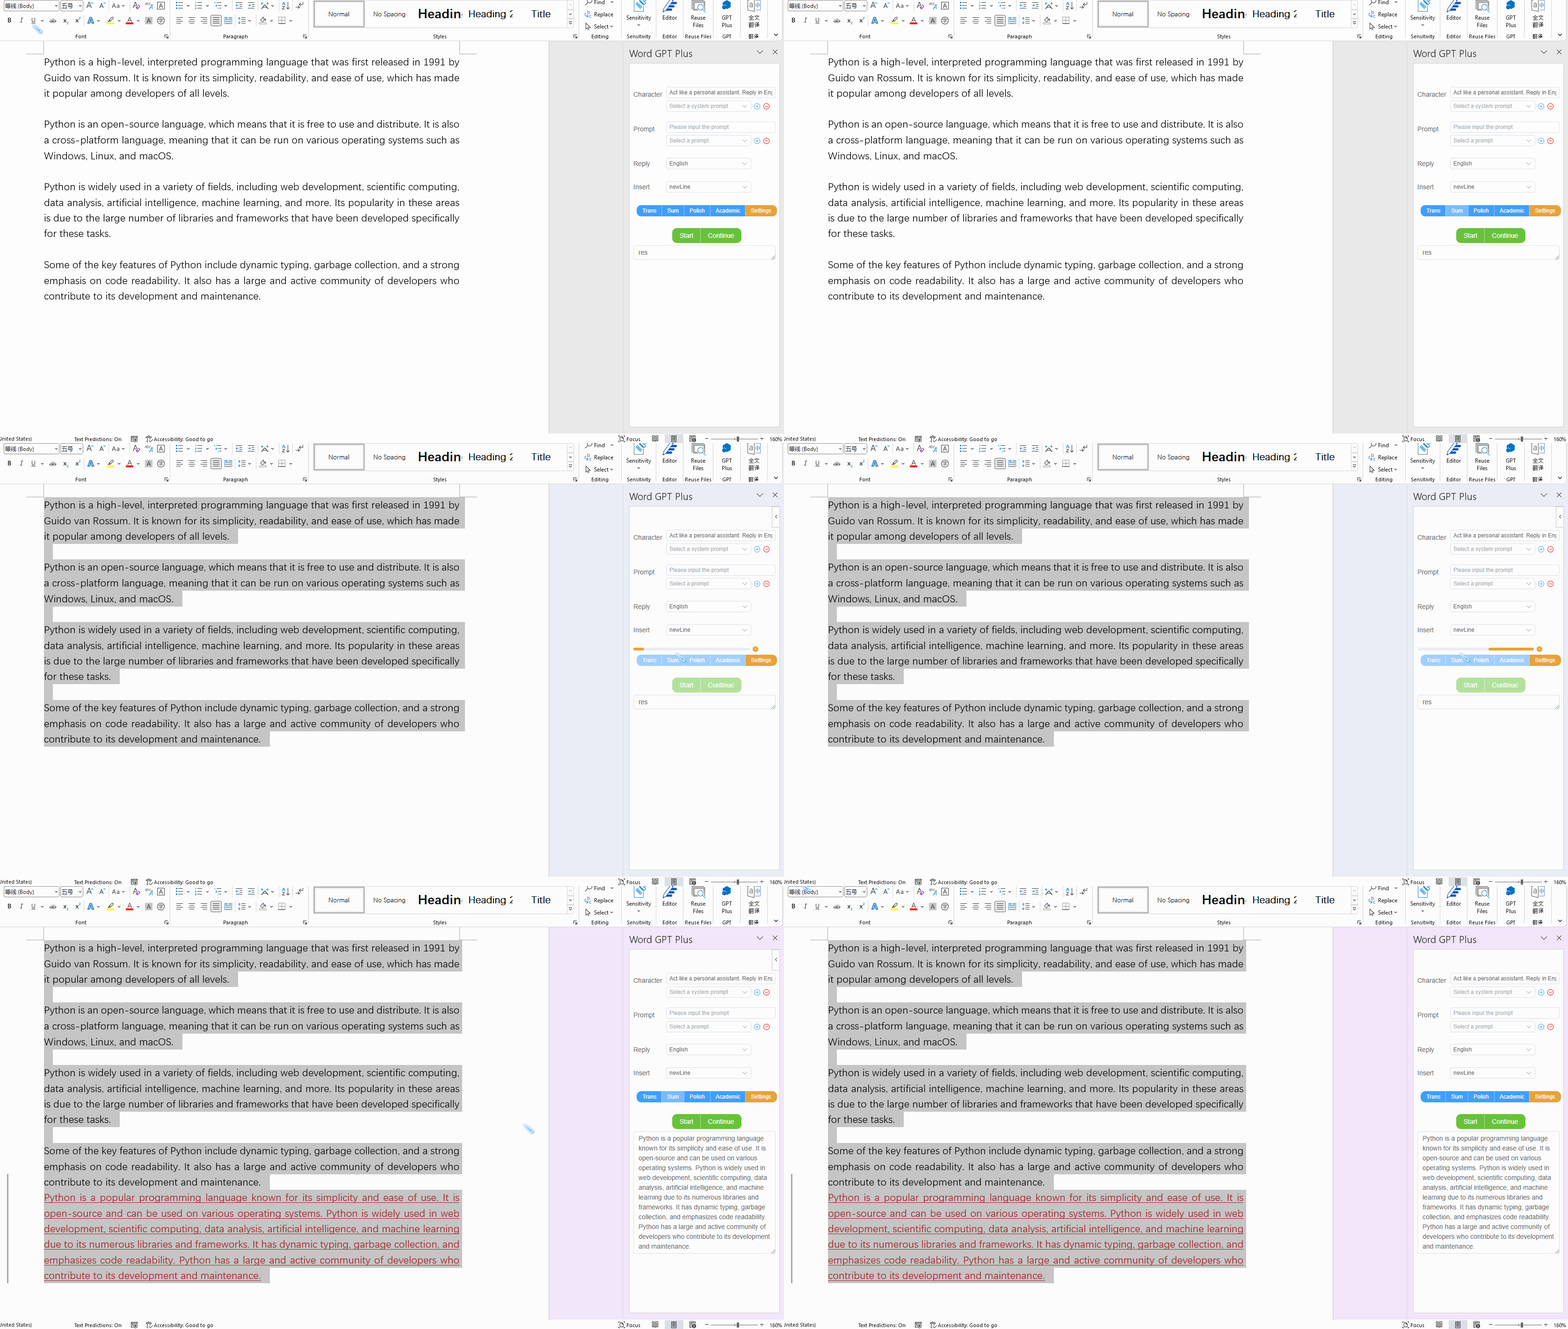
Word GPT Plus is a Word plug-in that integrates the chatGPT model. It allows you to generate text based on what you write in a document. You can use it to translate, summarize, polish or write an article from scratch.
Project address: https://github.com/Kuingsmile/word-GPT-Plus?tab=readme-ov-file
Special feature
- Use the GPT API to generate text and support selection models
- Support OpenAI official API and Azure OpenAI API
- Support Google PALM2 API
- Support Google Gemini Pro API
- Built-in tips for translation, summarizing, polishing and academic writing
- Support multiple languages
- Tips can be customized and saved for future use
- Allow users to set temperature and max tokens
- support agent


Environmental requirements
Software requirements
- Microsoft Word 2016/2019 retail version, Microsoft Word 2021 or Microsoft 365
- Edge WebView2 Runtime https://developer.microsoft.com/en-us/microsoft-edge/webview2/
- If you use the service you built yourself, you need Node.js 16+
Note: The office plug-in can only be used in docx files and does not support doc files.
Account requirements
The official API requires an OpenAI api key, which you can obtain from https://platform.openai.com/account/api-keys .
Azure OpenAI requires you to apply for qualifications first. Please go to the Azure OpenAI API application website to apply for qualifications.
Google PALM2 API needs to be applied at Google AI ( https://developers.generativeai.google/ ). After application, it is currently free to use in the public beta stage.
The api key of the Google Gemini Pro API is the same as the api key of the Google PALM2 API. The free version currently has a limit of 60 requests per minute.
quick start
There are two ways to install Word GPT Plus: through the developer’s free web service, or building the service yourself.
It is recommended to use the developer’s web service as it is quick and easy to install and does not require the installation of additional dependencies. In addition, you will always have access to the latest version of Word GPT Plus.
Since all data is saved using localStorage, your privacy is protected.
However, if you want faster speeds and have expertise in Node.js, building the service yourself is also an option.
Services provided by the official
This service is built using Cloudflare Pages, domain name: https://word.msq.pub
Chinese users may encounter network problems, please use to check whether the domain name can be accessed.ping word.msq.pub
You can add it to the rules of your proxy software, or use a service you build yourself.msq.pub
- Download the file and save it to your computer, e.g.
manifest.xmlC:\Users\username\Documents\WordGPT
- Download: manifest.xml(https://github.com/Kuingsmile/word-GPT-Plus/blob/master/release/instant-use/manifest.xml)
- Follow the sideloading plug-in instructions below ( https://github.com/Kuingsmile/word-GPT-Plus/blob/master/README_cn.md#sideloading plug-in) to install the plug-in.
Build your own service
Run locally
If you want to build the service yourself, you need to clone this repository and install the dependencies, then run the project. Requires Node.js 16+.
git clone https://github.com/Kuingsmile/Word-GPT-Plus.git
yarn
yarn run serve
manifest.xml(https://github.com/Kuingsmile/word-GPT-Plus/blob/master/release/self-hosted/manifest.xml)
docker run
You can also use docker to run the service, first docker pull the image, and then run the container.
docker pull kuingsmile/word-gpt-plus
docker run -d -p 3000:80 kuingsmile/word-gpt-plus
Manifest.xml needs to be modified to match your server address.[localhost:3000](http://localhost:3000)
Then, follow the sideloading plugin instructions below to install the plugin.
Sideloading plugins
In order to start using Word GPT Plus, you need to sideload the plug-in into Microsoft Word.
You can find instructions provided by Microsoft at the following link: sideload office add-ins( https://learn.microsoft.com/en-us/office/dev/add-ins/testing/create-a-network-shared -folder-catalog-for-task-pane-and-content-add-ins )
- Open the folder where you saved the file, for example .
manifest.xmlC:\Users\username\Documents\WordGPT - Right-click on the folder to open the menu and select Properties .
- In the Properties dialog box, select the Sharing tab, and then select Sharing .

- In the Network Access dialog box, add yourself and any other users you want to share with, select the Share button, and when you see confirmation that your folder is shared, note the full network path that appears after the folder name. .

- Open a new document in Word, select the File tab, and then select Options .
- Select Trust Center and then select the Trust Center Settings button.
- Choose a directory you trust .
- In the Directory URL box, enter the full network path and select Add Directory .
- Select the Show in menu checkbox and select OK .

- Close and restart Word.
- Click Insert- > Get Add-in- > Shared Directory and select Word GPT .
- Enjoy the powerful features of Word GPT Plus!

How to fill in API key
After entering Word GPT Plus, click the orange button on the homepage to enter the settings page, where you can switch APIs and fill in the API key.